A wall-panel layout is an elevation, not a repeated product. Its spacing should make sense beside the doors, artwork, outlets and furniture already in the room. Work through the layout on paper and with removable marking before multiplying one attractive frame across the wall.
Draw the entire wall
Measure wall width and height, then locate casings, switches, outlets, vents and fixed furniture. Put the visible furniture silhouette on the sketch. A perfectly centered panel can still feel misplaced when a sofa hides its lower half or a switch lands inside a narrow divider.
Decide whether the feature should be centered on the wall, the furniture arrangement or the main view from the doorway. Those can be different axes. Choose one deliberately and note how the edges resolve around adjacent walls.
Define what equal spacing means
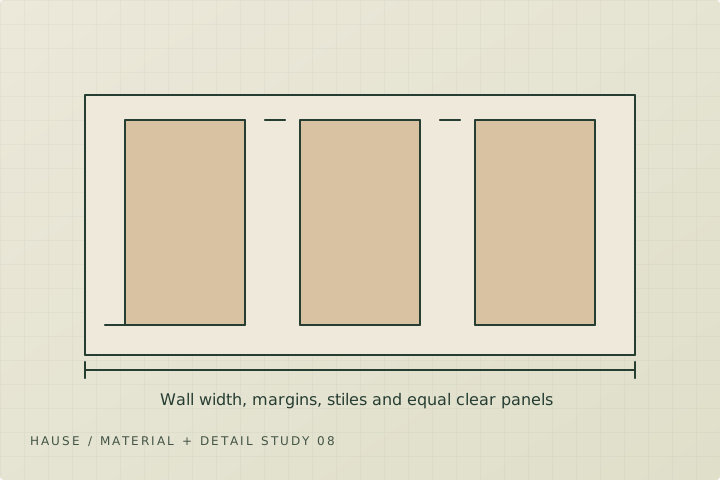
Equal clear panel widths, equal divider widths and equal outer margins are different dimensions. The planner on this site assumes clear outside margins plus a row of equal panels bounded by vertical stiles. That declared convention prevents a drawing from mixing measurements taken to centre lines with measurements taken to visible edges.
A hypothetical 144-inch wall with two 6-inch outside margins, three panels and four 3-inch stiles leaves 120 inches of clear panel width, or 40 inches per panel. This is only the horizontal layout; rail heights and interruptions still need to be designed.
| Dimension | Planning calculation |
|---|---|
| Wall width | 144 in |
| Outside margins | 2 × 6 = 12 in |
| Vertical stiles | 4 × 3 = 12 in |
| Remaining clear width | 120 in |
| Three equal clear panels | 40 in each |
Test interruptions before fastening
Mark the intended layout with a removable method compatible with the wall finish. Step back to normal viewing positions and check door swings and furniture. If a switch or vent conflicts with the design, revise the pattern or arrange the appropriate trade work; do not cover or impair a device to preserve a drawing.
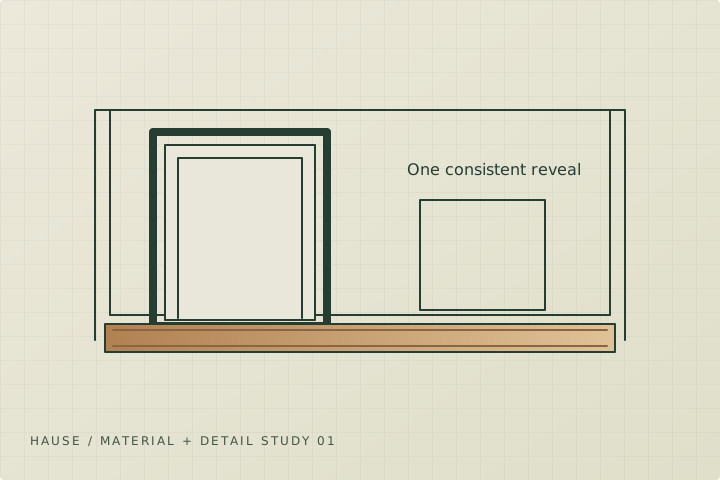
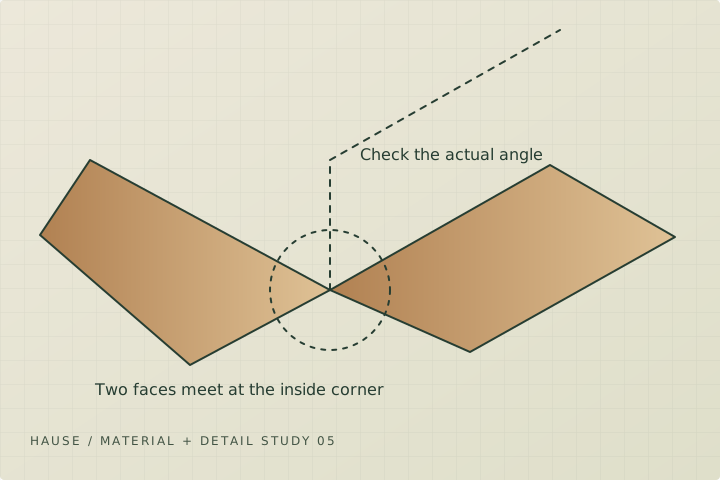
Picture-frame moulding and board-and-batten have different visual edges. Specify the actual profile thickness and how it meets baseboards, crown and casings. A clean front elevation needs a side-detail decision as well.
Approve one representative section
A sample panel can establish corners, edge adhesion or fastening approach, substrate preparation and finish texture. It also reveals whether wall irregularities need attention before the feature is repeated.
Put the approved dimensions and finish on the final elevation. If the room changes during renovation, recheck the drawing before installation. A planned cabinet or relocated door can make the earlier centered layout obsolete.
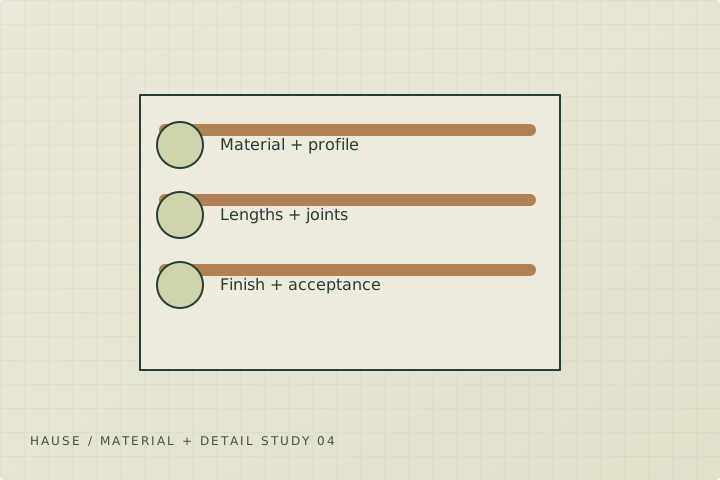
- All devices and fixed features located.
- Measurement convention agreed.
- Full-size layout viewed with furniture.
- Profile depth and adjoining transitions approved.
- Final elevation retained for the installation.
Sources + further reading
- City of Calgary: Home renovations and basements
- Health Canada: Lead-based paint
- Parks Canada: Standards and guidelines for historic places
- US Forest Service: Wood Handbook
Source review: 2026-10-04. Requirements and programs can change; confirm the current details with the authority or provider.