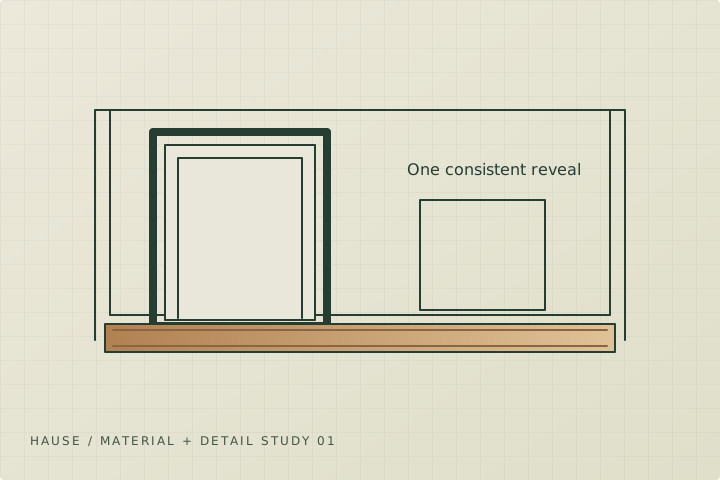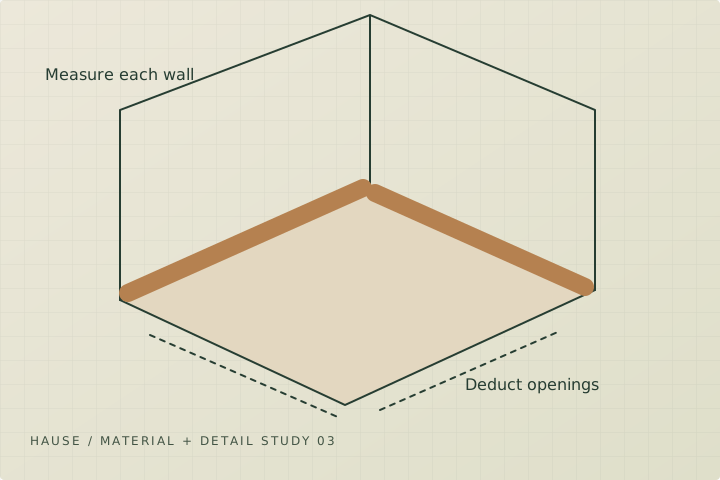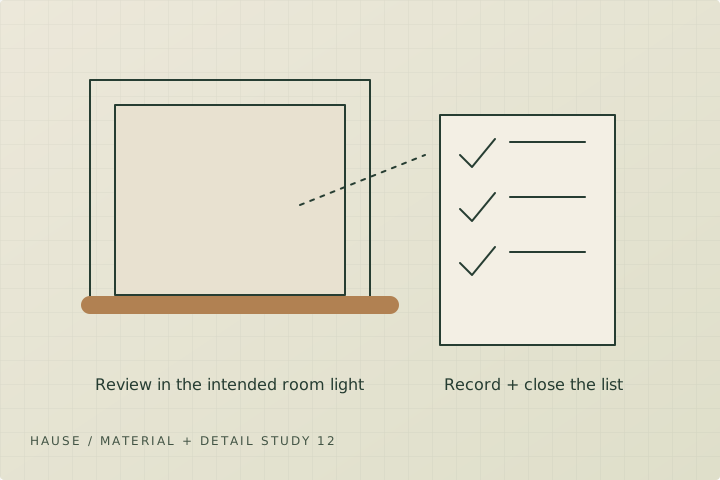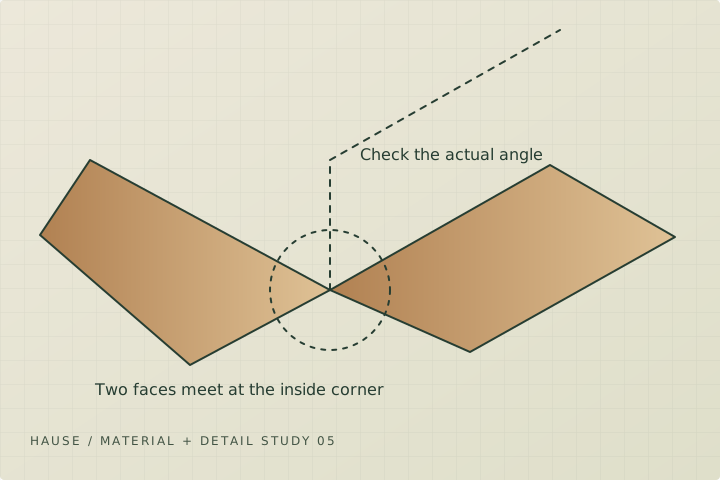
Most trim samples show a straight piece. Most rooms show the connections between pieces. Inside corners, outside corners and exposed ends reveal whether the package has been considered as a whole. Identify those junctions on the room plan and review the approach before work begins.
Inside corners need a fitting strategy
An inside corner can be mitred or, for suitable profiles, coped so one piece follows the shape of the adjoining piece. The appropriate method depends on the profile, material and existing conditions. Ask your carpenter to explain the intended joint, then view a sample using the exact trim.
Walls may be out of square or bowed. A nominal right-angle cut is not evidence that the actual corner will fit. The finished joint should be judged against the approved sample and agreed finish standard, with room conditions considered rather than hidden by excessive filler.
Outside corners need physical durability
An outside corner in a hallway takes more contact than a protected corner behind furniture. Profile depth, exposed sharp edges and the finish system all affect how it behaves in use. A sample can help you see whether the detail feels appropriate near a doorway or at a child's height.
Mark outside corners on the schedule because they change fitting time and material cuts. Where a fragile tip or thin edge would be exposed, discuss a different profile or designed block rather than discovering the vulnerability after installation.
Give exposed ends a deliberate finish
At an open stair, cabinet end or partial-height wall, trim may stop in full view. A return turns the profile back into itself or into an adjacent surface; a stop block creates a different ending. The best choice follows the surrounding details and should not interfere with door movement or furniture.
For stain-grade work, exposed end grain and colour matching deserve particular attention. Review the finished termination, not only its geometry. Small components can look disproportionately prominent when the room's lighting catches them.
Plan long-run joints
Available stock lengths may require a joint along a long wall. Ask where it will land and how it will be prepared and finished. If visual continuity matters, make that priority clear before purchase rather than assuming the carpenter can create a one-piece run from short stock.
A hypothetical long entry wall with strong side lighting may deserve a longer stock choice and a sample joint. A sheltered utility-room run may allow a simpler approach. Use the visibility of the detail to allocate effort intentionally.
- Mark joint locations on the room schedule.
- Approve a representative corner and return.
- Confirm finish preparation across every visible connection.
- Retain a material sample for later repairs.
Sources + further reading
- City of Calgary: Home renovations and basements
- Health Canada: Lead-based paint
- Parks Canada: Standards and guidelines for historic places
- US Forest Service: Wood Handbook
Source review: 2026-10-04. Requirements and programs can change; confirm the current details with the authority or provider.