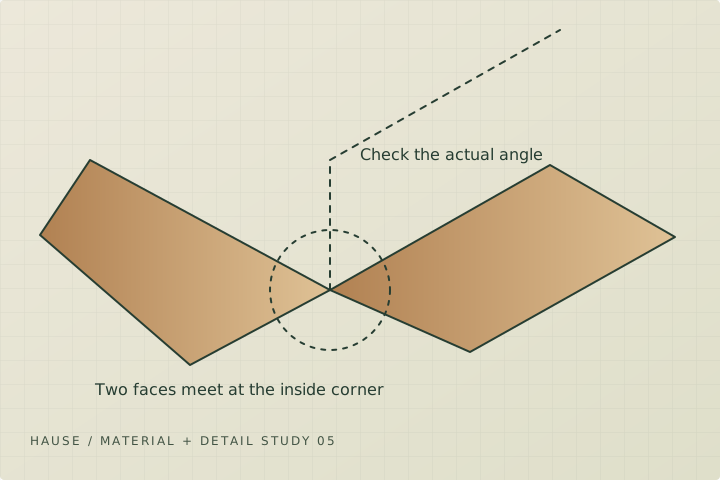
An open joint is a symptom with several possible causes. A stable finish crack may be a small repair; a gap that changes or carries a moisture stain needs more investigation. Record what has changed before covering the evidence, especially if an earlier repair has already failed.
Document the location and pattern
Photograph the gap with a simple scale reference and date the image. Note whether it is at a wall edge, mitre, scarf joint, door casing or ceiling line. Record whether adjoining doors stick, material feels soft or paint is lifting. The combination of observations is more informative than the gap width alone.
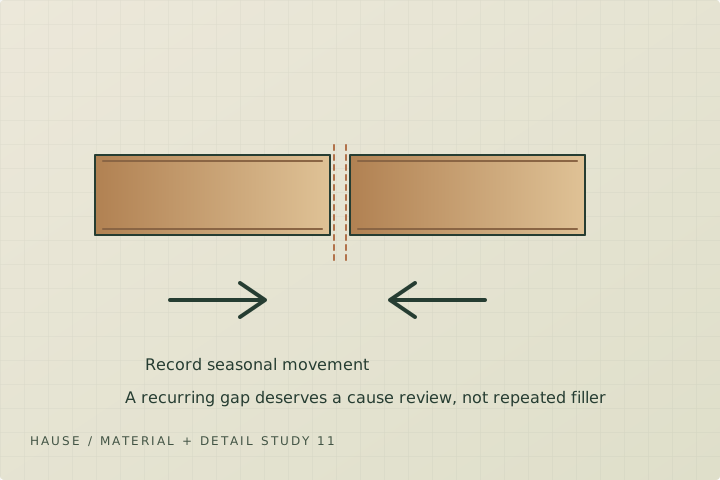
Compare nearby joints. A single knocked corner suggests a different repair conversation from several openings along one exterior wall. If the problem appears seasonal, keep observations across changing conditions instead of assuming the first visible gap is the maximum movement.
Consider the cause before selecting filler
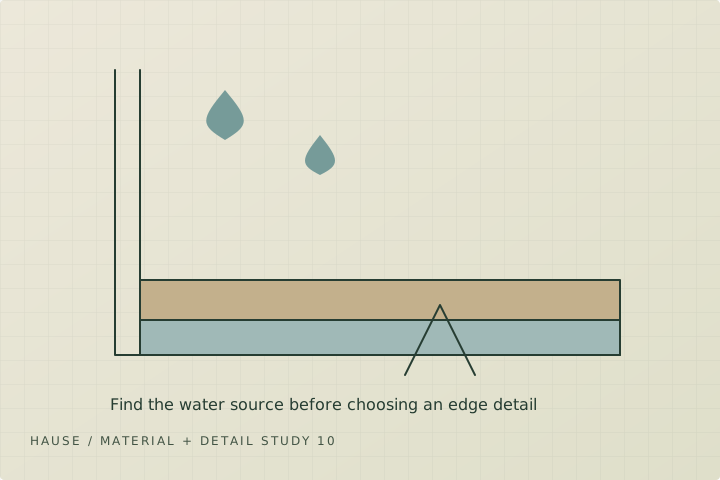
Wood's moisture-related dimensional change is explained in the Wood Handbook. That is one reason a rigidly filled joint can reopen. Movement of the adjoining surface, inadequate fixing or recurring wetting may also require review; a web page cannot identify the cause from a single photo.
Ask the carpenter or appropriate building specialist what must be stabilized before finishing. New or substantial movement elsewhere in the building, active leaks or damaged wall assemblies deserve the relevant assessment before trim repairs conceal them.
Choose a repair that matches the joint
A wall-to-trim junction and a stain-grade wood-to-wood corner have different appearance and material requirements. Discuss the repair product's compatibility, movement capability and coating instructions. Excess filler across a detailed profile can flatten the shape and become more visible than the original gap.
For a local dent, a patch may be possible. For a damaged or distorted piece, replacement can produce a more durable result. Review a representative repaired area and decide whether the whole connected run needs refinishing to avoid a conspicuous local colour or sheen difference.
Set the follow-up standard
Agree what is being repaired, what underlying condition was found and what is excluded from the cosmetic scope. Keep before-and-after photos and the finish recipe. If the gap returns, the record helps distinguish renewed movement from a new impact or moisture event.
A hypothetical crown joint that opens every winter may need a movement-aware approach and a realistic maintenance expectation. The same repair specification should not automatically be applied to a crushed outside baseboard corner.
- Location and date photographed.
- Recurrence, moisture and adjoining symptoms noted.
- Cause reviewed before filling.
- Repair product and finish match approved.
- Follow-up responsibility and record retained.
Sources + further reading
Source review: 2026-10-04. Requirements and programs can change; confirm the current details with the authority or provider.