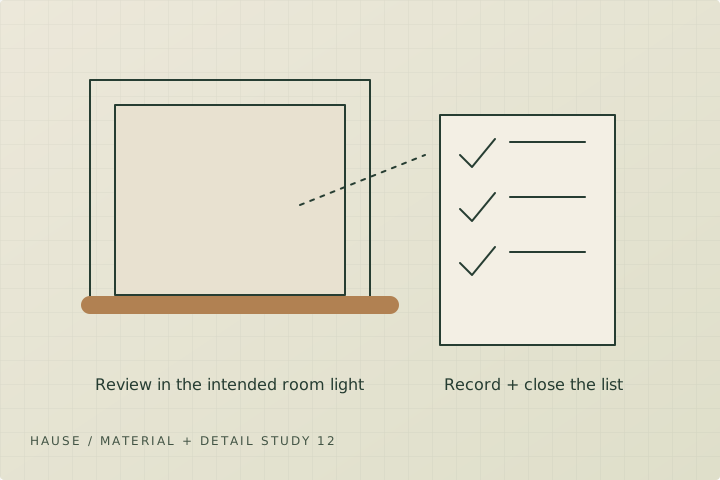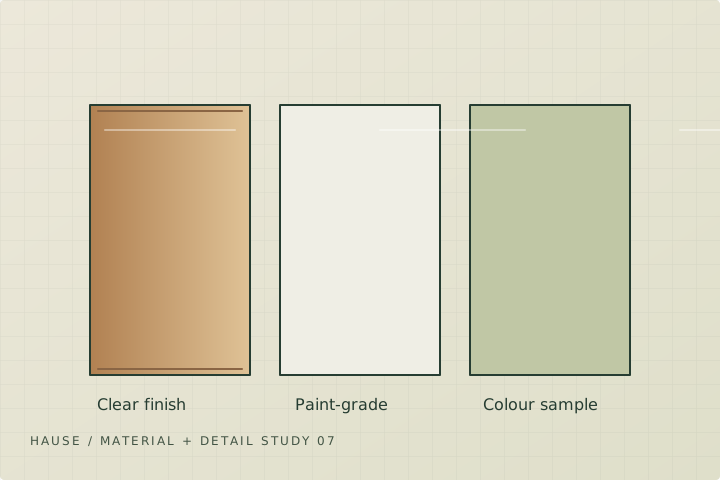
The same colour name can look different on two materials or under two lights. A finish decision should include the substrate and the full preparation and coating sequence. Review a sample in the actual room, then retain its recipe so the installed work has a clear reference.
Paint finish starts below the colour
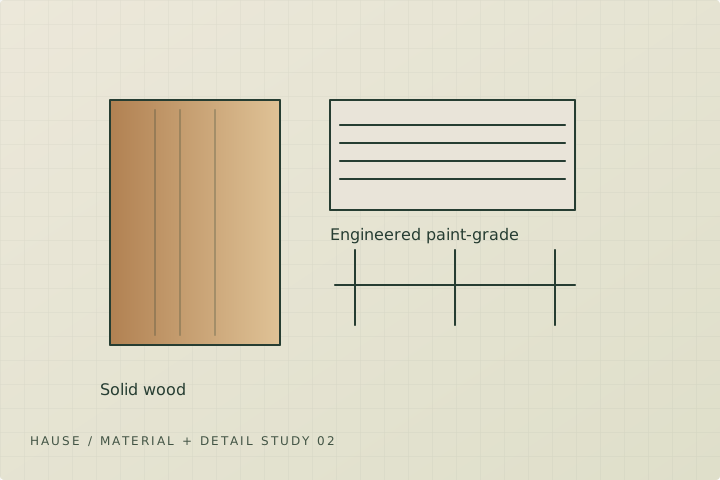
Filling, sanding, edge preparation and primer determine what the topcoat can hide. Ask how nail locations, joined stock, cut ends and profile recesses will be prepared. A broad smooth face may look uniform while a poorly prepared edge remains visible along every doorway.
The Forest Service's Wood Handbook addresses finishing as a material and exposure question. Use the actual coating manufacturer's instructions for compatible primers, preparation and application. A generic instruction to use two coats does not establish coverage or adhesion for every substrate.
Stain needs a representative grain sample
Choose pieces that reflect the species and grade being ordered, then apply the proposed complete system. A tiny sample from an unusually clean piece may understate the variation across a whole room. Compare light and dark sections together and decide what natural variation you are willing to accept.
A stained match to older wood may require a different preparation or colour recipe from new standalone work. Approve the sample beside the existing trim in normal daylight and evening light. Avoid relying on a phone photograph whose exposure can alter the colour.
Choose sheen with the room's light in mind
Sheen changes how a curved profile and its small irregularities catch light. View the sample at the angle from which the room is normally used. A finish that looks smooth head-on can reveal a sanding mark under a window or a wall-washing light.
If the project mixes existing and new trim, decide whether the goal is a close local match or a uniform repaint of the connected run. Local touch-up is not automatically invisible. Write that expectation into the scope before approving a repair price.
Retain the finish record
Record manufacturer, product, colour, sheen, preparation method and coats. For custom colour work, keep the labelled sample as well as the written recipe. Store a small matching offcut if practical, because later repairs may need both profile and finish information.
Before the final walk-through, confirm the coating has reached the product's appropriate condition for handling and use. Fresh coatings can remain vulnerable after they first feel dry. Let the agreed product instructions guide protection and cleanup.
- Complete finish approved on the exact substrate.
- Representative edges and joints included in the sample.
- Daylight and artificial-light review completed.
- Preparation and touch-up boundaries written.
- Product record and retained sample provided.
Sources + further reading
Source review: 2026-10-04. Requirements and programs can change; confirm the current details with the authority or provider.