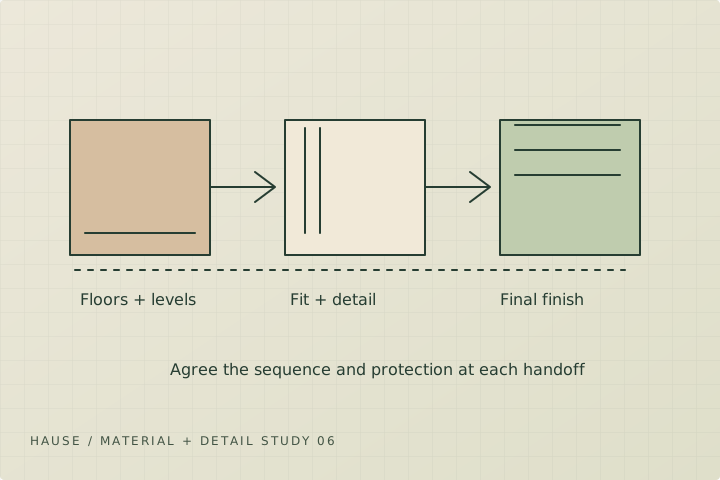
A good trim package can still be delayed by the wrong sequence. Flooring changes baseboard height; door adjustments can change casing details; fresh wall coatings can be damaged during removal. Put the adjoining work on one schedule so each trade knows what condition it will receive and what it must leave ready.
Confirm the finished floor level
Discuss the final flooring material and thickness before measuring installation heights. A new underlay or a tiled area can change how a door bottom, baseboard or stair skirt meets the floor. Photograph the transition and identify whether the old trim is being removed, reused or replaced.
Follow the flooring manufacturer's requirements for movement clearances and perimeter details. Trim should not be used to conceal a flooring installation issue or restrain an assembly that needs to move. Ask the flooring and trim installers to agree on the interface before either finishes it.
Set the wall-repair boundary
Removing a wider existing profile may expose damaged drywall, old paint ridges or gaps. Decide who repairs those areas and what surface the carpenter expects. A new narrower casing can create visible repair work outside its edge, even when the opening itself has not changed.
For a hypothetical baseboard upgrade, the sequence might include careful removal, repair of the exposed wall edge, flooring work, field confirmation, trim installation and final coating. The exact sequence depends on products and access; the point is to give each task an owner.
Distinguish pre-finishing from final touch-up
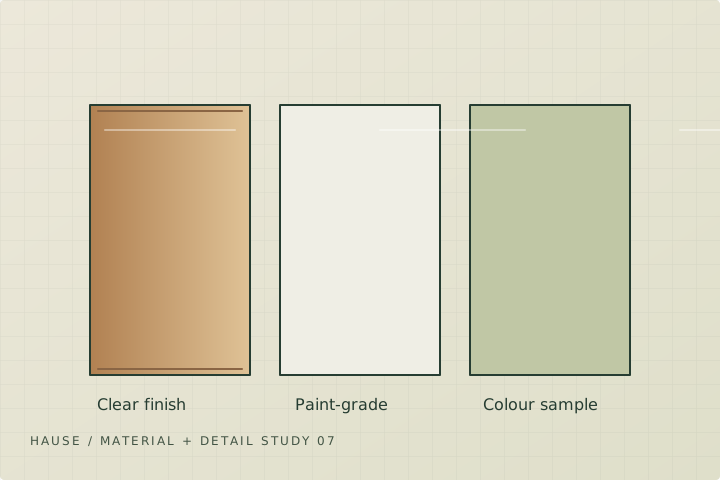
Pre-painted or pre-stained material can simplify some site work, but it does not erase the need to finish cut edges, joints and fastener locations. Ask which coats are applied before installation and which are applied afterwards. A factory finish and an on-site repair may not match under strong light.
Agree on whether walls are painted before trim, after trim or in separate stages. Include the final wall touch-up boundary and protection of newly coated surfaces. Product cure and recoat instructions should govern the schedule rather than a promise to complete every coat in one day.
Plan the occupied-home handoff
Choose a work zone, furniture-storage area and path through the home. Confirm whether doors can remain in use, how tools and unfinished material are secured and when a room can be returned to normal use. Finish odour and ventilation needs should be discussed using the selected product information.
At each stage, photograph the completed preparation before it is covered. A small checklist shared between the trades can prevent disagreements about who was responsible for an uneven edge or a missed coat.
- Finished floor thickness and transition plan confirmed.
- Wall repairs and sanding assigned.
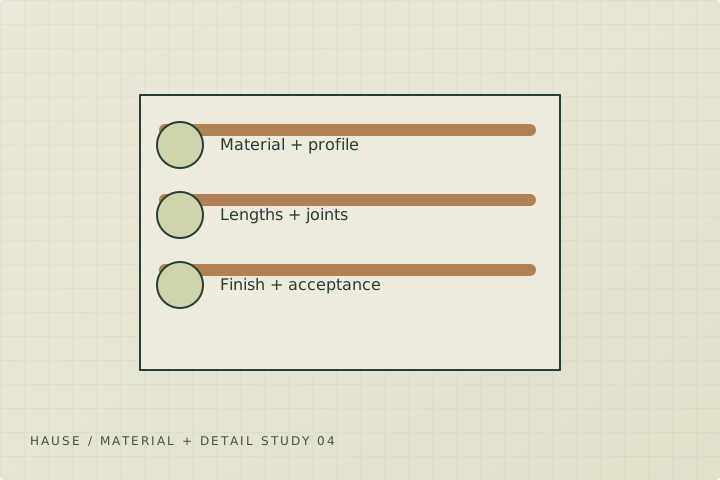
- Trim sample and final measurement approved.
- Coating stages and touch-up ownership recorded.
- Access, protection and room-return timing agreed.
Sources + further reading
- City of Calgary: Home renovations and basements
- Health Canada: Lead-based paint
- Parks Canada: Standards and guidelines for historic places
- US Forest Service: Wood Handbook
Source review: 2026-10-04. Requirements and programs can change; confirm the current details with the authority or provider.